All Posts By

info@stephaniemosssalon.com

How to Curl Your Hair with a Flat Iron, Step-by-Step

By | Trends

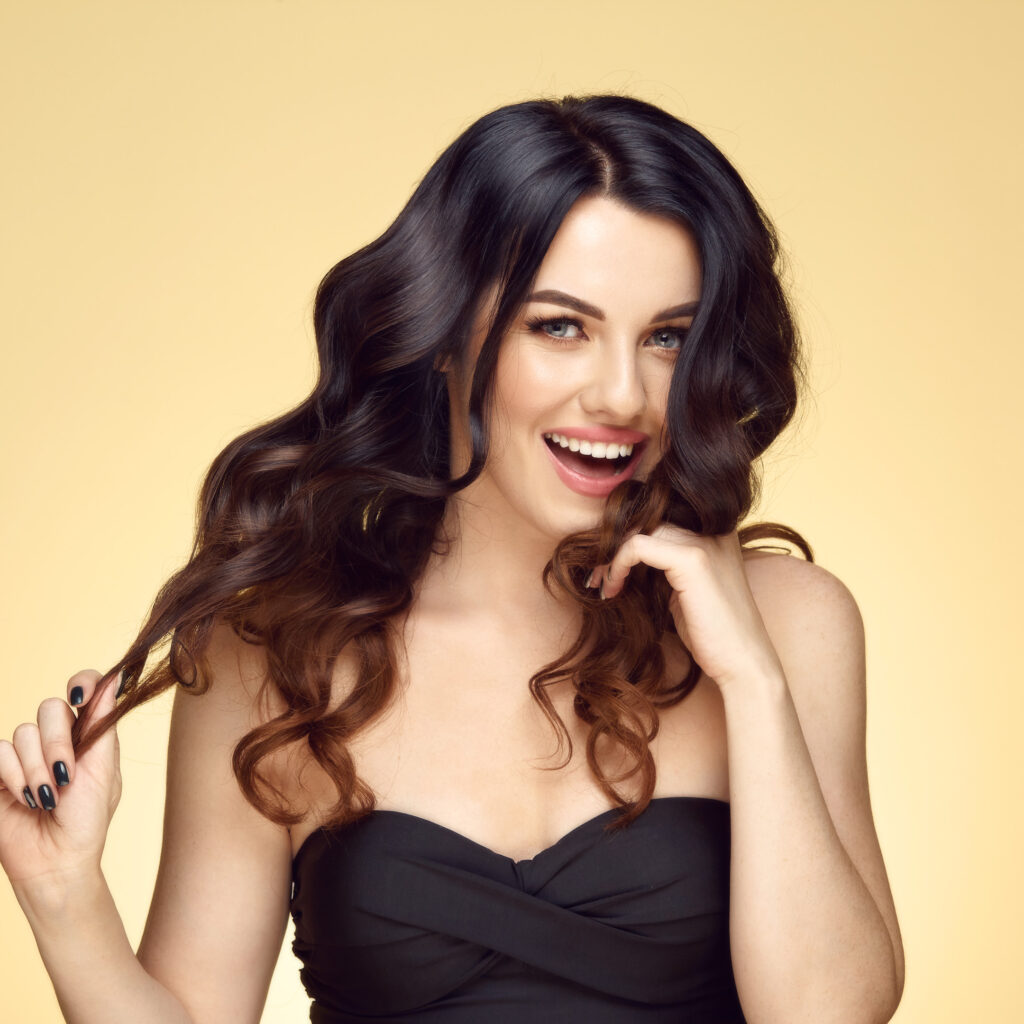
If you’ve ever struggled with getting perfect curls, you probably weren’t thinking about using your flat iron for the job: that’s fair since it’s often just called a straightener! But your flat iron is one of the most versatile tools in your styling arsenal. With the right technique, you can create soft waves, tight curls and almost anything in between, without needing a curling iron or wand.  

So, if you’re wondering how to curl your hair with a flat iron, want a smooth and versatile look that saves you time, desire more control over the end result, and are looking to save space in your drawer or on your bathroom counter, we’ve got you covered. Here’s a simple, step-by-step guide to achieving beautiful curls at home, every time. 

Step 1: Collect Your Tools and Styling Products

Before you start curling, make sure you have everything you need: 

  • Flat iron: Choose a flat iron that’s the right size for your hair. For tight curls, use a thinner plate (1 inch or smaller) and for looser waves, pick a wider plate (1.5 to 2 inches). If you have short hair, thinner plates will help your curls actually be visible. 
  • Heat protectant: Always apply a heat protectant spray or serum to your hair to prevent damage from the flat iron’s high heat.
  • Hair clips: Sectioning your hair helps achieve even curls.
  • Hair spray: To ensure your curls stay in place all day. (Mousse is helpful too but needs to be applied on damp hair!)
  • Optional products: Texturizing or sea salt spray for added volume and a beachy texture. 

Step 2: Prep Your Hair

Start with clean, dry hair. It’s easiest to curl hair that isn’t freshly washed — second-day hair works great, but if you’re someone who wants an everyday wash, you can use some dry shampoo to simulate the effect. Here’s what to do: 

  1. Brush through your hair: Make sure your hair is detangled. This will help prevent any snags while you curl. 
  2. Apply heat protectant: Lightly mist your hair with a heat protectant spray or use a serum, make sure it’s evenly distributed to shield your locks from the heat and keep them shiny.
  3. Optional styling products: If you want extra volume or texture, now’s the time to apply a texturizing spray. 

Step 3: Section Your Hair

Sectioning your hair might feel like an extra step, but it’s the best way to create uniform curls. Working in smaller, more manageable sections helps every strand get curled properly. 

  1. Divide into sections: Use clips to separate your hair into three to four sections — bottom, middle, top and sometimes a front section for those finishing touches.
  2. Clip away the top layers: Start with the bottom layer and work your way up, curling one section at a time to avoid missing pieces and uneven curls. 

Step 4: Set Your Flat Iron Temperature

Flat irons can get pretty hot, so it’s important to choose the right temperature for your hair type. 

  • Fine hair: Set your flat iron to a lower heat, around 300°F.
  • Medium hair: Around 350°F is ideal.
  • Thick or coarse hair: You may need a higher heat, between 375°F and 400°F. 

Always start with a lower temperature to avoid heat damage and only increase if needed. 

Step 5: Curling with the Flat Iron

Now for the fun part! Here’s how to curl your hair with a straightener: 

  1. Take a small section of hair: Work with about 1 to 1.5-inch sections for defined curls. Smaller sections will create tighter curls, and larger sections will give you looser waves.
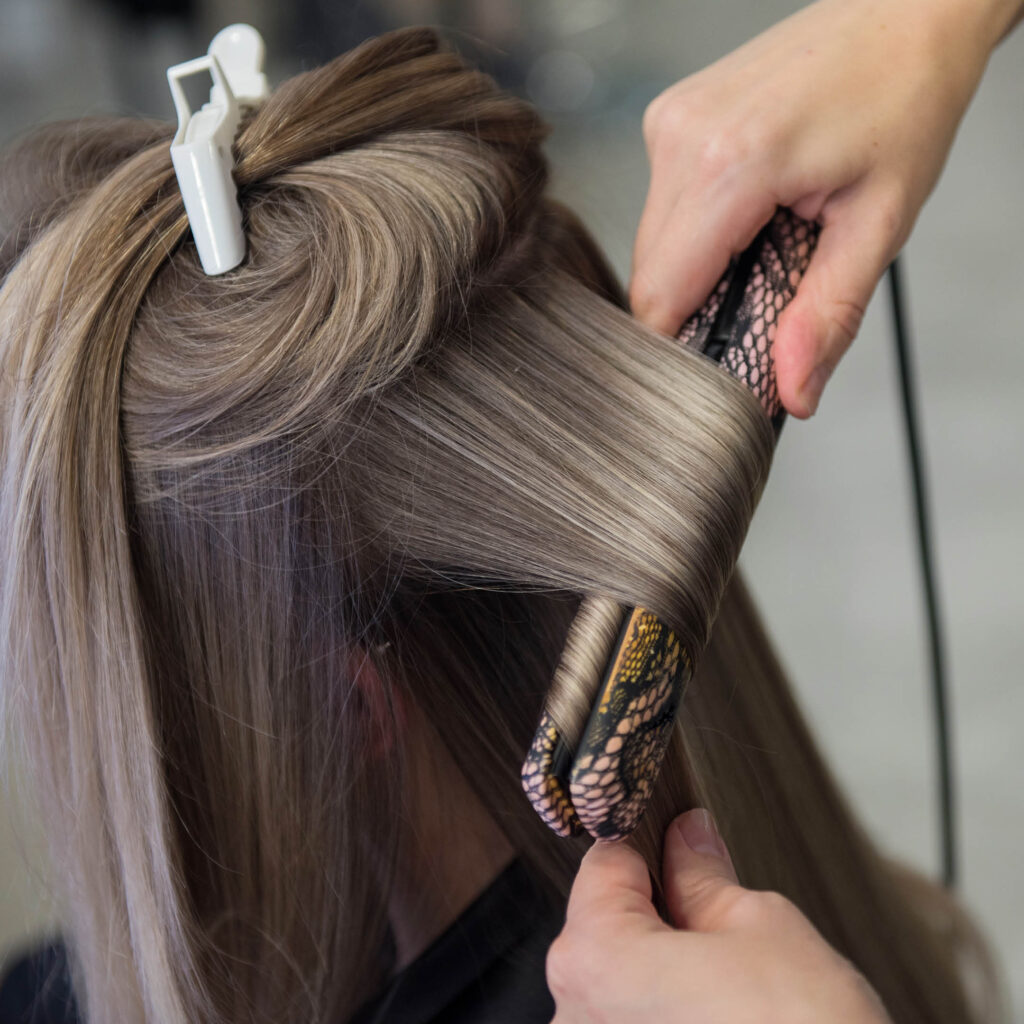
  2. Clamp the flat iron: Place the flat iron about 1 to 2 inches away from the roots. Clamp the hair between the plates.
  3. Twist and pull: Slowly rotate the flat iron 180° (half-turn) away from your face, and then gently pull the flat iron down toward the ends of the hair. The slower you pull the flat iron, the more defined the curl will be.
  4. Optional technique for loose waves: For a beachier look, you can twist the flat iron once and then pull it down quickly. This will create a softer, wavier texture rather than a defined curl. 

Repeat this technique on all sections, alternating the direction of the curls for a more natural look. You can curl the hair away from the face on the outer sections and towards the face on the inner sections for a more varied, relaxed finish. 

Step 6: Let Your Curls Set

Once you’ve curled each section, give the curls a few seconds to cool. This helps them hold their shape and last longer. 

  • Don’t touch: Avoid running your fingers through the curls too soon — this can cause them to fall out faster.
  • Spray with hairspray: For lasting hold, lightly mist your curls with hairspray. 

Step 7: Finish and Style

After your curls have totally cooled, it’s time to break them up and finish the look. 

  1. Separate the curls: Use your fingers (or a wide-tooth comb) to gently separate the curls. This will give you a fuller, more voluminous look.
  2. Add texture: If you want more texture or volume, spray some dry shampoo or texturizing spray at the roots or throughout your curls.
  3. Smooth flyaways: Use a small amount of hair serum or light finishing spray to smooth any flyaways or frizz, giving your curls a polished look. 

Pro Tips for Perfect Curls Every Time 

  • Use smaller sections for tighter curls. The smaller the section of hair, the tighter the curl. For looser waves, use larger sections and move the flat iron faster.
  • Change up your curl direction. Alternate the direction of your curls (away from the face, then towards the face) for a more natural, voluminous look. Curling everything in the same direction can give it more of a glamorous, old Hollywood look.
  • Don’t overdo it. Avoid curling the same section of hair multiple times to prevent damage. Keep your movements smooth and steady for the best results. 

Curling your hair with a flat iron is easier than you think, and once you get the hang of it, it might become your go-to technique for versatile, beautiful curls. Whether you’re aiming for beachy waves, defined curls or loose, voluminous locks, your flat iron can do it all. 

Frequently Asked Questions

It isn’t working! 

Don’t panic! Let’s troubleshoot. Some common culprits are: 

  • Using too much styling product, which might weigh down your curls.
  • Touching or brushing out your curls before they’ve cooled down.
  • Choosing the wrong temperature for your hair, either too hot or too cool.
  • Choosing the wrong size of hair straightener.
  • Grabbing too large a section of hair for each curl, so the heat isn’t evenly distributed.
  • Not using enough hairspray to set your hair.
  • Having extremely clean hair that doesn’t have enough grip to hold a curl. 

Experiment with these solutions and see if any of them make a difference — if you’re still stuck, come into the salon for a consultation and we can give you some tips. 

How long will my curls last? 

With the right products (like hairspray or mousse) and the proper technique, your curls can last all day or longer. Be sure to let them cool before touching them to set the curl! 

What’s the best flat iron for curling hair? 

You may want to look for a flat iron with ceramic or tourmaline plates. These materials distribute heat more evenly, reducing the risk of heat damage. That being said, there are tons of fantastic hair straighteners out there at a range of price points, so you can get the curls you want no matter your budget. 

Are there any haircuts that work best for flat iron curls? 

Certain haircuts can enhance the look of curls, while others might require a bit more work to create the desired effect. Longer hair is great for curls, and layers add some flexibility in how you style each section. A lob haircut can look fantastic with soft, bouncy curls, and the shorter you go, the more easily you can get that fun, voluminous look. Particularly blunt cuts might need a little more precision since the ends won’t naturally blend. Let us know how you like to style your hair in the morning, and our stylists can make sure you have a cut that’s easy to work with. 

Is it harder to curl shorter hair with a flat iron? 

Shorter hair (such as pixie cuts or chin-length bobs) can be more challenging to curl with a flat iron because you have less hair to work with. But the results are worth it! Use a smaller flat iron (about 1 inch or smaller) for tighter control over the smaller sections, then hold the flat iron at an angle, twisting it to create more definition. Although the actual styling process can be tricky, shorter hair also tends to hold curls for longer, since it isn’t being weighed down by its own length. 

Can I create volume with flat iron curls? 

Yes! In fact, flat iron curls can add amazing volume and lift to your hair. For more volume, use the alternating directions technique and add texture. For a voluminous body without as much curl, use larger sections of hair and go quickly to avoid overly defined ringlets. 

If you follow these steps, you’ll be able to curl your hair with a flat iron like a pro in no time. 

Ready to try it out for yourself? Or maybe you’d prefer to leave it to the professionals? We’d love to help you achieve your perfect style. Book an appointment with us today at Stephanie Moss Salon for a personalized consultation, a healthy haircut or to get the best curls of your life! 

Here’s What to Tell Your Makeup Artist for Your Wedding

By | Trends

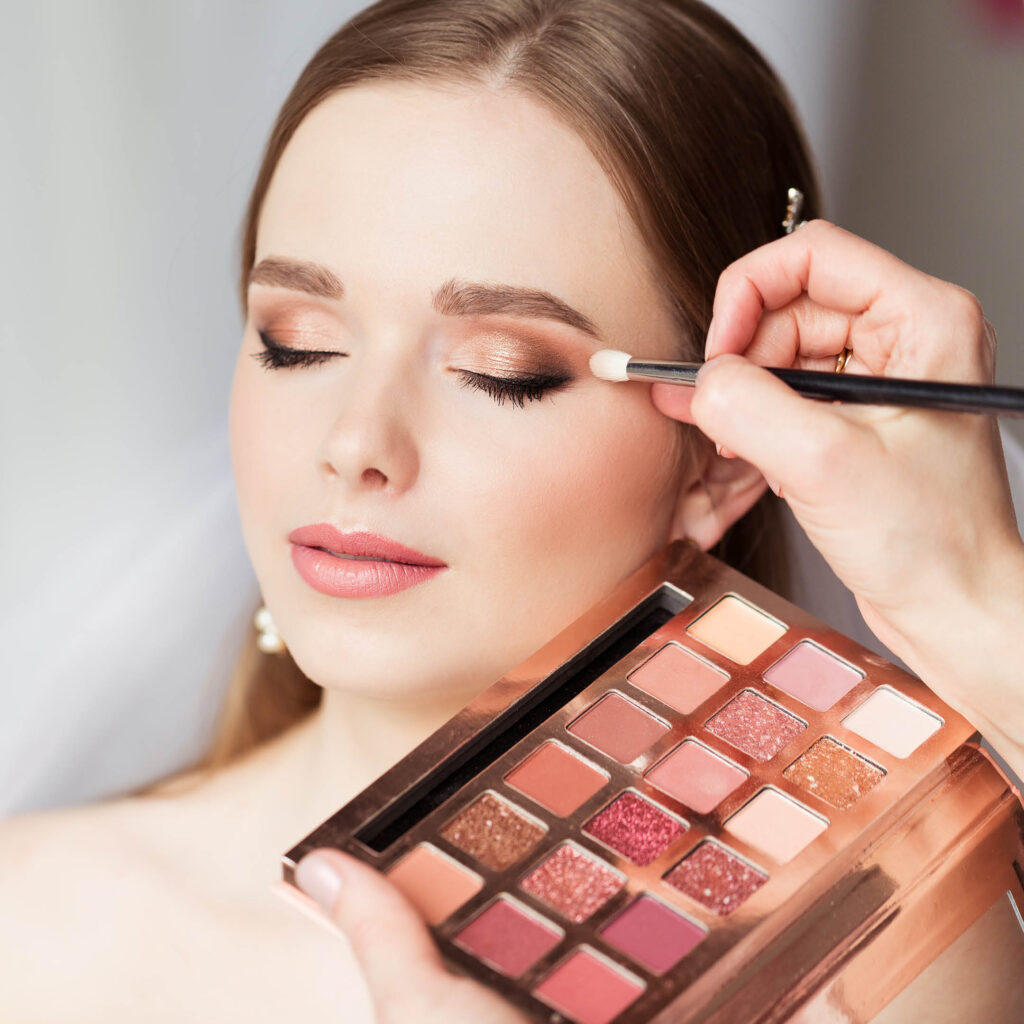
Planning your wedding is an exciting time filled with details that can feel overwhelming — especially when it comes to your makeup. You want to look radiant, feel confident and make sure that your makeup reflects your personal style elevated. 

The secret to achieving your dream bridal makeup look, even if you aren’t positive exactly what you’re aiming for? Clear and open communication with your makeup artist. 

Start with Visual Inspiration

The best way to convey the look you’re going for is through visuals. Spend some time collecting images that resonate with you. Whether they’re from Pinterest, Instagram or bridal magazines, gather photos of makeup styles you love. 

Consider creating a mood board that highlights your favorite looks. This doesn’t just help you articulate what you’re envisioning but can give your makeup artist (MUA) a clear direction. 

What Should I Ask for When Getting My Makeup Done Professionally? 

Since makeup has become much more popular online, there are thousands of ways to refer to the look you’re interested in. Just make sure you’re on the same page as your makeup artist! 

As an example, “natural glam” wedding makeup is a popular request. But “natural” and “glam” are opposites! Usually, people are looking for “soft glam” makeup when they ask for this style, but even that can take on a million different appearances. Do you want false eyelashes? (Note: they don’t have to be huge!) Do you want winged eyeliner? Do you want everything in soft shades of brown? Do you want shimmer? 

It’s totally okay that there are different names for different styles of bridal makeup. But it definitely helps the process go more smoothly and efficiently when everyone is aligned on what you really want for your special day. 

Highlight Your Favorites

As you review your inspiration, try to take note of what you love about each look. Is it the soft glow of a dewy finish? The bold statement lip? Maybe it’s the way the eyes are accentuated with just the right amount of eyeliner. 

Make a list of the elements that speak to you, and don’t hesitate to share these specifics with your artist. The more details you provide, the better they can tailor the look to suit you. 

Even if you can’t put your finger on what your favorites all have in common, when your MUA sees all the looks you love, it’s easier to pick up on the patterns that may be there and figure out how they’ll translate onto your face. 

Discuss What You Don’t Want

Just as you should express what you love, it’s important to tell us the things you don’t.  

Maybe heavy contouring isn’t your style, or certain shades of lipstick make you uncomfortable. Be honest about your dislikes. This helps your makeup artist avoid any styles you won’t be happy with, so you feel your best on your wedding day. We won’t be offended!  

That being said, consider listening to your makeup artist if they have an idea that might be a touch out of your comfort zone, especially if it’s your trial run. Some incredible techniques aren’t part of a typical everyday look for most people, and that can be intimidating. But they might be the best way to create a beautiful, cohesive look. 

In the end, we always want to make you happy and you always get the final say. But listening to the experts, even if you don’t think you’ll agree, might surprise you! 

Consider Your Wedding Theme and Dress

Your wedding theme and dress both play a significant role in your makeup choices. If you’re going for a bohemian vibe, for instance, your makeup might be softer and more ethereal. Conversely, an elegant ballroom wedding may call for a more classic look. 

Discuss how your dress and overall aesthetic align with your makeup vision. Of course, there’s no rule saying you can’t mix and match! For the best results, you need to stay true to yourself. 

Don’t Skip the Trial Run

Before the big day, schedule a makeup trial. This is your chance to see how your ideas come to life — and your chance to make any adjustments if your vision isn’t exactly the same as you thought it’d be. 

Bring your collected inspiration, notes on your preferences and any products you’d like to try. Take photos during the trial, as they’ll be a helpful reference for your final look. Plus, it gives you peace of mind: not only will you know what to expect as far as your makeup goes, you’ll have the chance to get to know your MUA. 

Ready to get started on your wedding makeup journey? Book a consultation with our talented team at Stephanie Moss Salon. We’ll help you find the perfect look that reflects your unique style so you shine on your special day! 

Here’s How to Blow Dry Hair: Do’s and Don’ts

By | Trends

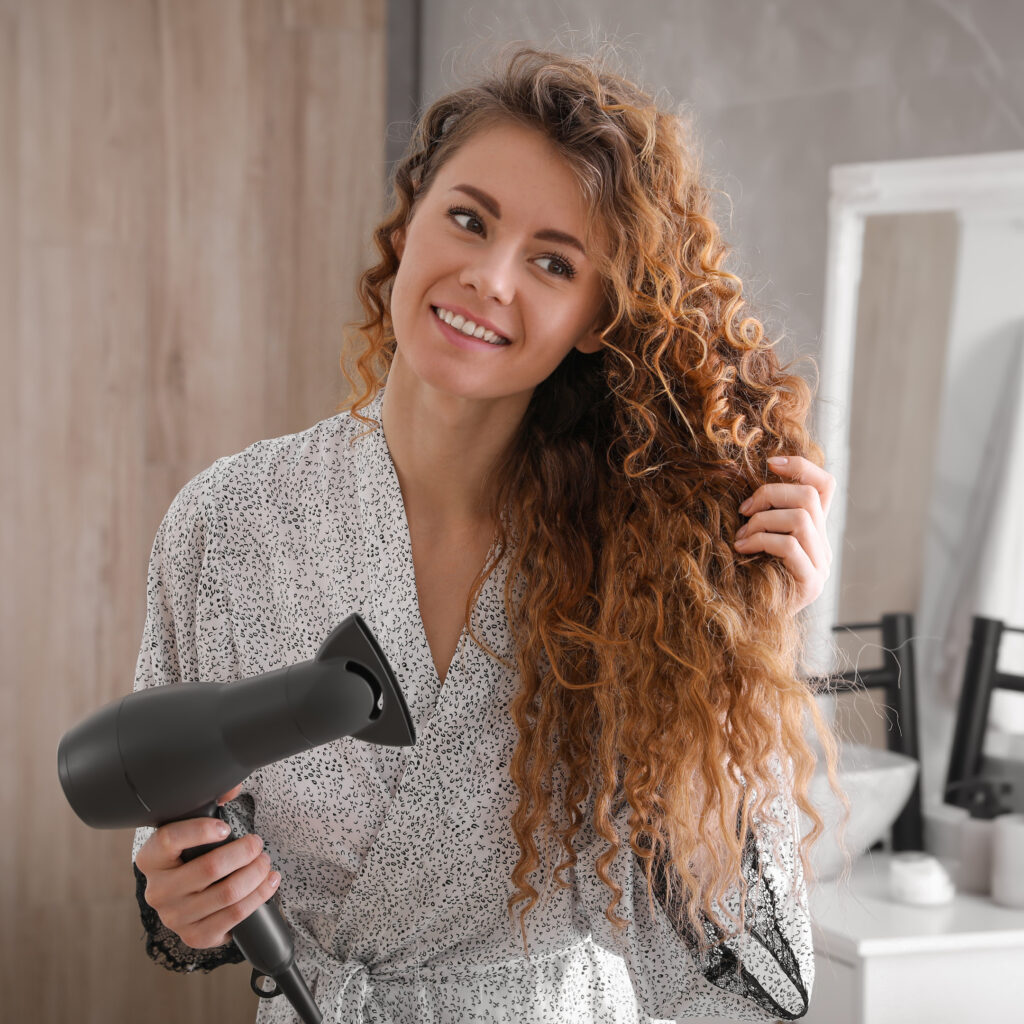
If you’ve ever tried to replicate that salon-fresh blowout at home and wondered what happened, you’re not alone. Blow drying your hair can be a bit tricky, but with the right techniques, you can achieve stunning results! The good news? We’ve got an easy list of essential do’s and don’ts of blow drying to help you master this art, so you can enjoy your beautiful new haircut after you wash it for the first time. 

How to Blow Dry Hair: The Do’s

Do: Use the Right Tools 

First things first — investing in a high-quality blow dryer can make a world of difference. Even airflow and heat that doesn’t fry your locks is an essential part of getting the style you’re after. Look for a blow dryer with adjustable heat settings, as this allows you to tailor the temperature to your hair type. Don’t forget the brushes you’re using! A vented brush helps with airflow, while a round brush can create gorgeous bouncy curls.  

Do: Prep Your Hair 

Starting with clean, conditioned hair will help set the stage for a smooth blowout.  

But the single most important step is to apply a heat protectant! If you can only take one step to prepare, this should be the one. Wet hair is more fragile than it is when it’s dry. Treat it nicely! You need to shield your strands from the damaging effects of heat, and a heat protectant is easy to use. Check the products you’re already using; some detanglers and shine creams may also protect your hair from heat.  

Do: Section Your Hair 

Taking the time to section your hair will make blow drying it much easier and more effective. Use a comb and then clips to divide your hair into manageable sections, starting from the bottom and working your way up. This ensures that each section gets the attention it deserves and stays perfectly styled. 

Do: Get Concentrated 

Using a concentrator nozzle on your blow dryer is a game-changer. It directs airflow where you need it most, making it easier to achieve a sleek finish. Remember to point the nozzle downwards to help smooth the cuticle and reduce frizz.  

Do: Blow Dry in the Right Direction 

Always blow dry from roots to ends. This not only helps to create a smooth look but also enhances shine. As you dry, follow the direction of hair growth for the best results. Even if you aren’t using a concentrator attachment, you’ll still want to point the hair dryer down the length of your hair to avoid frizz. 

Do: Use the Cool Shot Button 

Most blow dryers come with a cool shot button nowadays. This feature is fantastic for setting your style and locking in that polished finish. After you’ve styled your hair, give it a quick blast of cool air to help it hold its shape. If you use curlers, this can help set those, too! Applying heat opens the layers of your hair, and cooling it down helps seal the cuticle for a sleek result. 

Hair Drying Don’ts

Don’t: Use Too Much Heat 

It might be tempting to crank up the heat for faster results, but it isn’t worth it. Excessive heat can lead to damage, especially for fine and color-treated hair. Keep it at a medium setting and then adjust based on your hair type. 

Don’t: Skimp on Products 

Skipping heat protectants or styling products can spell disaster for your hair. Always use a heat protectant, and consider other products tailored to your hair type — whether it’s volumizing spray or mousse, smoothing cream or frizz-fighting serum. Of course, you don’t want to use too much, either. It’s a delicate dance! Ask your stylist the next time you get your hair done what they recommend and then give it a whirl. A little experimentation can go a long way. 

Don’t: Over-Dry Your Hair 

You have to strike a balance when blow drying. Even if your main goal is to take your hair from wet to ready to leave the house, over-drying your hair can leave it parched and prone to breakage. Pay attention to how your hair feels and stop when it’s just dry enough. 

Don’t: Rush the Process 

Take your time! Rushing can lead to uneven results and unnecessary frizz. Consider drying your hair a tiny form of self-care — a little pampering for yourself. Enjoy the process, and you’ll find it more rewarding! If that doesn’t seem up your alley, just remember that you should be holding on for a minute to start the process, anyway. Immediately blasting sopping wet hair with heat instead of gently patting it with a towel or letting it air dry for a while is a recipe for split ends. 

Don’t: Forget to Clean Your Tools 

Regular maintenance of your blow dryer and brushes will keep them performing their best. Dust and product buildup can affect how well they work, so take a few moments to clean them regularly. Your tools will thank you! 

Now that you’re armed with the essential do’s and don’ts of how to blow dry your hair, you can put these tips into practice. Practice makes perfect, so don’t get discouraged if it takes a few tries to achieve that salon-quality look at home. 

Want to skip the tutorial? Get a professional blowout from our team of stylists at Stephanie Moss Salon! We can walk you through the process, show you the best products for your hair type and send you home feeling fantastic. Book an appointment today! 

We’re Proud to Be a Kérastase Salon — Here’s Why

By | Salon Updates

At Stephanie Moss Salon, we’ve always been dedicated to offering our clients an unparalleled experience in luxury haircare. That’s why we’re officially designated as a Kérastase salon. This prestigious recognition reflects our commitment to excellence and our passion for providing exceptional service. 

But what does it really mean to be a Kérastase salon, and why should it matter to you?   

What It Means to Be a Kérastase Salon

Kérastase is more than just a name in the world of haircare — it’s a symbol of luxury and innovation. Established over 50 years ago, Kérastase has earned a reputation for crafting some of the most advanced and effective haircare products available today. Their dedication to quality makes them a go-to for discerning clients who expect the best. 

Salon Criteria 

Becoming a Kérastase salon isn’t just about carrying their products. We have to meet strict criteria — only the top 1% of salons in the U.S. get selective, direct distribution of the brand. Salons need to prove exceptional standards for both service and product application, including: 

  • Expertise in using Kérastase products 
  • Comprehensive training for all staff members 
  • A commitment to maintaining the highest level of client care and satisfaction 

This rigorous selection process ensures that only the best salons get to use these products and advertise themselves with the brand. 

Commitment to Excellence in Haircare

Premium Products

Kérastase is known for its high-quality formulas, which cater to a variety of hair types and concerns. Each product is the result of extensive research and technology, tailored to deliver visible results and enhance the health and beauty of your hair.  

Professional Training

Our team undergoes extensive training to master the use of Kérastase products and techniques. This ongoing education confirms that our stylists are not only knowledgeable about the latest products, but skilled in providing treatments to maximize their benefits. 

Enhanced Client Experience

Personalized Consultations 

Being a Kérastase salon means we can offer you personalized consultations that take your unique hair needs and goals into account. Our stylists provide consultations to create customized treatment plans that address your specific concerns and help you feel your best. 

Exclusive Services 

As a Kérastase salon, we are proud to offer exclusive treatments and services that you can’t find everywhere. From luxurious in-salon rituals to bespoke haircare routines, our clients benefit from unique experiences designed to elevate their haircare routines, from the chair to their homes.  

The Kérastase Philosophy and Values

Innovation and Technology 

Kérastase is constantly integrating the latest scientific research and technological advancements into their products. As part of the L’Oréal family of brands, they have the funds for focused innovation, ensuring that we’re providing our clients with the most effective and cutting-edge solutions available. 

Sustainability and Responsibility 

Kérastase is also dedicated to sustainability, aligning with our own values of responsibility and care for the environment. Their efforts to minimize environmental impact and support ethical practices resonate with our commitment to providing a luxurious yet responsible salon experience. 

Why Choose a Kérastase Salon?

Trust and Assurance 

When you choose Stephanie Moss, you’re choosing a space where the highest standards of quality and service are guaranteed. Our Kérastase designation assures you that we’re committed to delivering exceptional results and providing products that are both effective and luxurious. 

Exclusive Experiences 

Our clients enjoy exclusive experiences and promotions that are only available at Kérastase salons. From personalized treatments to special offers, we’re dedicated to making every visit memorable and rewarding. 

We’re incredibly proud to be a Kérastase salon and excited to share the benefits of this honor with you! Ready to discover the ultimate in luxury haircare? See the Kérastase difference book an appointment at Stephanie Moss Salon today! 

13 Easy Short Hairstyles for Busy Mornings

By | Trends

There are plenty of reasons to keep your hair short. It tends to stay healthier, be easier to manage than long-flowing locks and of course, it looks great! But sometimes you might get stuck on how to style it.  

It’s frustrating when you have a pixie and search for “easy short hairstyles” just to find a billion photos of shoulder-length hair. That’s why almost all of these looks are also possible with truly short ‘dos!  

Whether you feel like you’re in a short hair rut or brand-new to the cut, we’ve got inspiration to share with these easy styles for short hair! 

Pushed Back

It’s so annoying to constantly have to move bangs out of your eyes. Skip the hassle entirely by making your style the solution. With short hair that’s longer in the front, you can create this look with styling hair paste. Work it between your hands (just a little!), then rake it through your hair for hold. Combing through afterward will make it even sleeker — feel free to skip that step if you want it to look a little more carefree.  

Flipped Out Ends

The flipped bob is a huge trend for 2024. You can go for a dramatic version or a softer flip, but either makes a statement without a ton of hassle in the morning. The easiest way to get this look is to use a flat iron on one section at a time, pulled away from your face. Alternatively, grab a round brush and blow dry your hair from the bottom, pointing up at the brush. 

Flipped In / Curled Under

The next option is obvious — it’s just the reverse of the flippedout bob! Use the same flat iron or round brush techniques to curl your ends toward your face instead of away.  

Classic Pixie Cut

Sleek, smooth, piecey. The sideswept pixie is a classic for a reason. Use a styling cream that reduces frizz on damp hair, then blow dry it with a brush to make sure each piece ends up where you want it. Separate the bangs and other small sections to keep it looking intentional. 

Sleek Short Bun

Who said you can’t wear a bun with short hair? Use styling products like gel, your favorite hair oil and even hair wax to create this look. Grab a comb to make sure you don’t have any bumps or unsecured sections. If your hair is too short in the back (and you don’t want to move the bun down from the very top of your head), use bobby pins and hairspray to keep everything secure. 

Headbands and Accessories

Hair accessories like headbands are trending right now, and they look fantastic on short hair. You can go with a headband that smooths back the hair in the front while leaving the back voluminous or choose a chunkier version that sits right on top of your head.  

Half-Up, Half-Down

It’s a classic for a reason. The half-up, half-down look is a no-nonsense way to get your hair out of your face even if you can’t put it all up on top of your head. Brush your hair back and choose a cute hairclip to add a little extra personality to your look! 

Short Blunt Bob

To get this chic, Parisian look, you don’t need to straighten anything but your bangs! You’ll keep your bangs sleek while either leaving the rest of your hair natural or using a texturizing powder to give it a little extra oomph.  

Mini Braids

Admittedly, everybody with short hair doesn’t have the length to pull this one off, but braids aren’t just for the Rapunzels of the world. Part your hair into two sections, leave out a couple of face-framing pieces (or just don’t worry if they naturally fall out of the braids), and voila!  

Beachy Short Hair

We love a longer pixie cut that emphasizes texture! To shake up your regular style, consider a texturizing salt spray or beach spray. Get your hair wet, spritz it with the sea salt spray in sections and give it a good ruffle 

Short Beachy Waves

Do you have naturally wavy hair or want a little more movement? If you want short beach waves instead, either scrunch your hair and let it air-dry or break out the diffuser attachment for your blow dryer.  

Short Hair with Big Volume

Getting this much volume requires hair that either really loves volume powder, or more styling than a lot of the other looks on the list — for best results, you’ll want to use rollers. But you don’t have to do it in the morning! Using jumbo rollers overnight after applying mousse will give you a big volume in the morning. Run your fingers through it and see how it looks. Adding some clay pomade or paste can help hold your volume while adding to the cool factor. 

Straight Lob

For some people, the haircut itself is enough of a style! Running a brush through your hair in the morning can be all you need to start your day with confidence, assuming you love your haircut. A slightly longer bob or lob might make it less likely that you’ll need to last-minute panic about finding your flat iron. 

We want you to love your hair from the moment you leave the salon chair — that includes when you’re trying to style it in the mornings without our help. Our stylists don’t just cut your hair, we’re here to talk about what you need to maintain the look you want, including suggesting alternative cuts if the maintenance might be too much. 

Take one of these looks for a spin book an appointment at Stephanie Moss Salon today!  

Diamond Glow vs Hydrafacial: What’s the Difference?

By | Trends

Sometimes your skin just needs a little TLC! Incorporating facials into your skincare regimen can make all the difference in seeing healthy, plump and radiant skin. The Diamond Glow facial and the Hydrafacial are two of the top trending skincare treatments at the moment, but why? 

Is one better than the other? Are there alternatives you should know about? Which is right for you? 

What is a Hydrafacial?

A Hydrafacial is a skin treatment that uses glycolic and salicylic acid to deeply exfoliate, cleanse and nourish. Chemical exfoliation serves as a gentle yet effective way to loosen dead skin cells and encourage the regrowth of healthy skin.  

After extraction, personalized boosters are applied to the skin to provide a curated flow of antioxidants and peptides to renewed cells. These boosters can work to promote:  

  • Elasticity
  • Smoothness
  • Brightness
  • Hydration
  • Anti-acne 

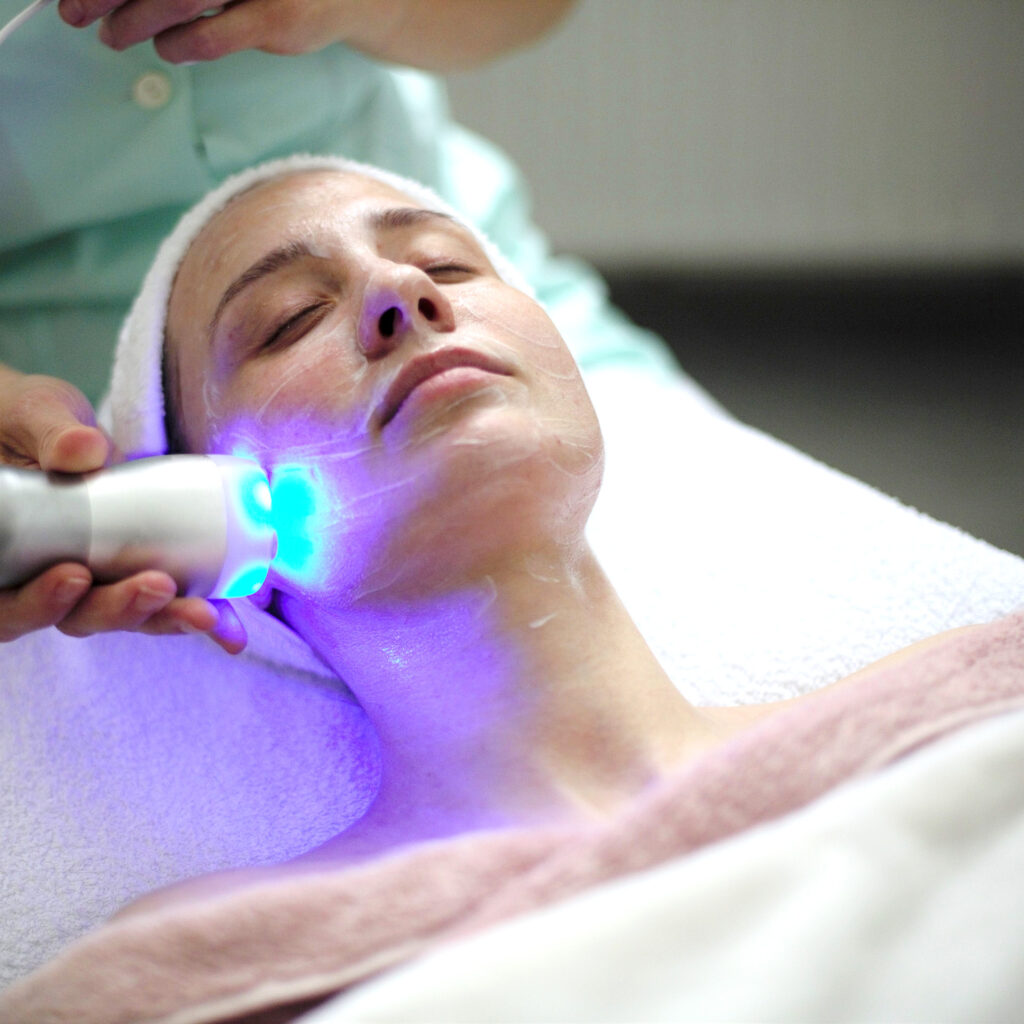
At Stephanie Moss Salon, we offer four types of Hydrafacials, including two with LED light therapy, which works to reduce acne, redness and wrinkles.  

We often recommend Hydrafacials to our clients who have acne-prone or sensitive skin because of this facial’s ability to detox your pores without completely drying them out.  

These treatments are the holy grail in providing much-needed relief to dry, irritated or mature skin.  

What is a Diamond Glow facial?

The DiamondGlow® facial is a dermabrasion procedure which gets its name from the diamond-tipped wand used to physically exfoliate the skin.  

The device and name are part of a registered trademark, which increases the price without affecting results. For this reason, some salons (including us!) choose not to offer it as a service. 

Should I get a Diamond Glow facial?

We’ll let you in on a little secret: you really don’t need one. 

If you want to address skin concerns like texture, discoloration, stiffness and dullness, or you need to exfoliate dead skin cells, a Dermaplane Hydrafacial is an excellent alternative! 

This treatment resurfaces sun-damaged skin and removes peach fuzz to generate new cell growth. It leaves your skin looking smooth and fresh, both bare and as a base for makeup application. 

And with the nourishing boosters that make Hydrafacials so effective, the Dermaplane variety is the best of both worlds! 

Here are some other details that may impact your decision about the best facial to get in Omaha, Hydrafacial or otherwise! 

Key Differences

Maintenance

While a Diamond Glow facial can prime your skin for a new routine, Hydrafacials can be used more consistently to incorporate moisture back into the skin. By its very nature, the Diamond Glow can be much harder on your face. 

Exfoliation

While both treatments exfoliate the skin and work to reduce dry patches, texture and signs of aging, the two use different methods of achieving those results.  

The Diamond Glow facial relies on physical exfoliation, like rubbing your face with a washcloth in the shower. Hydrafacials utilize alpha hydroxy acids to chemically exfoliate the top layer of skin, followed by custom boosters curated to meet your unique skincare goals. 

Results

To get an accurate idea of the results you can achieve with different facials, consult your esthetician. Your skin is an important part of your self-image, and you deserve to have complete confidence in the treatments you choose.  

Let us know your top skin concerns. We can recommend a customized plan to match the results you’re looking for — from brighter, smoother exfoliation to nourished, hydrated and plump skin.  

Choosing the best facial treatment

With a million new skincare treatments on the market, it’s important to understand which treatments target your needs best.  

Facials are excellent treatments to maintain the integrity and beauty of your skin. At the end of the day, it comes down to personal preference and desired effects — we personally recommend Hydrafacials as a perfect combination of luxury and true results.  

And there’s no reason to limit yourself to just one! Multiple facials can be used to maximize your routine as skin needs and concerns fluctuate throughout the year.  

Our expert estheticians are here to help you find the perfect treatment for your skin. Let’s tackle it together book an appointment at Stephanie Moss Salon to get started.  

The Parent’s Guide to Haircuts for Kids

By | Trends

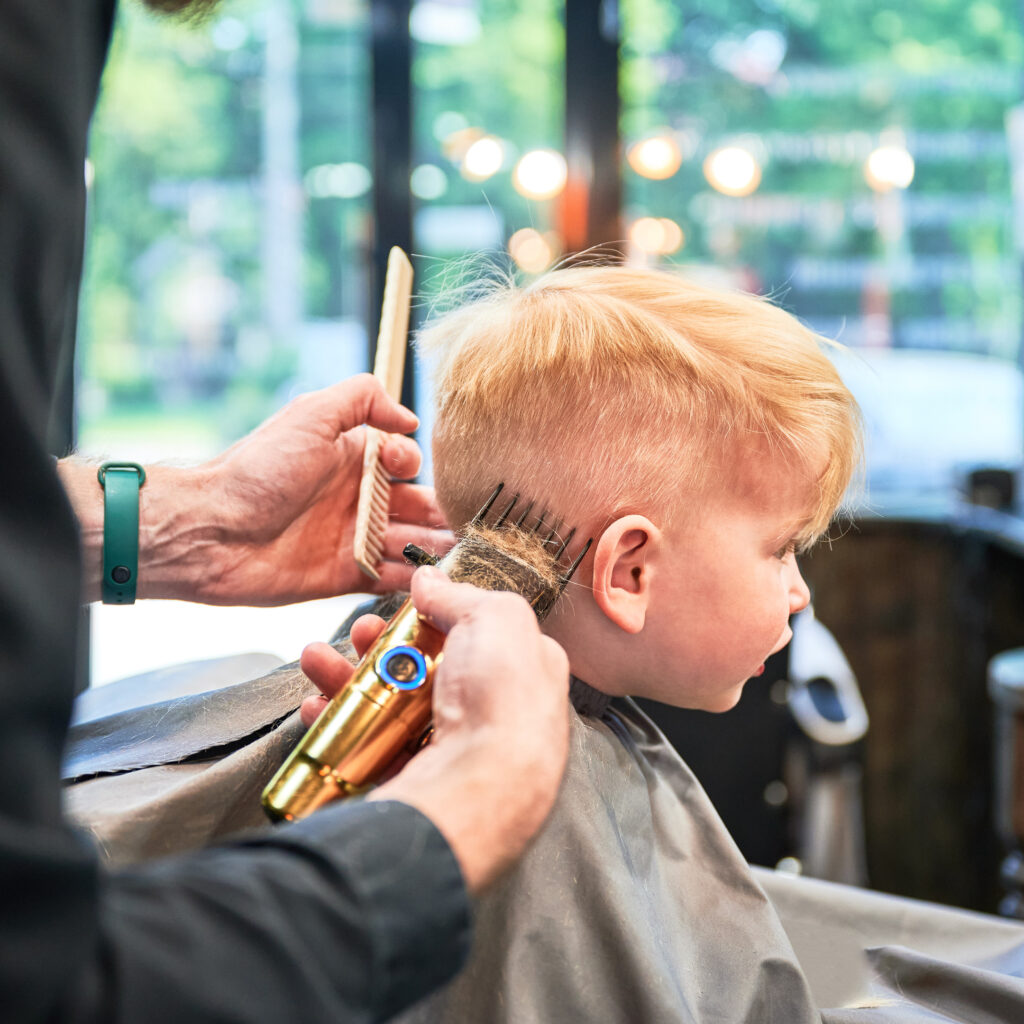
There’s nothing quite like a photo of the family where the kids look great. All the way up until they start making their own salon appointments, dealing with kids’ hair can be a pain for parents. Of course, the younger they are, the trickier it can be to make the experience pleasant for everybody involved.  

At Stephanie Moss Salon, we’re here to make it a little bit easier. 

How to Prepare: Haircuts for Kids 

You’ll need to prepare differently depending on the age of your child. A cranky third grader acts very differently than an overstimulated toddler, no matter where their hair is cut. 

For baby’s first haircut (or second, or third), it’s all about letting them know what will happen before you even get to the salon.  

Play Salon at Home 

Grab a little comb or hairbrush and practice what they’ll experience in the chair — you can make it a game. Depending on the style they’ll be getting, let them listen to the sound of scissors or clippers while they can see the tools. If your little one could be getting their hair blow-dried, that’s easy to practice at home, too.  

Make sure to keep giving your child positive reinforcement with compliments and any other little rewards that make them feel safe. Most of all, understand that they might have questions and genuine fears, and it’s your job to reassure them. Remember, this is a brand-new experience for them! 

When your kid knows you’re on their side ahead of time, it doesn’t have to be upsetting when it’s time for the real deal. 

When You’re at the Salon 

Some kids don’t have an issue getting their hair done at all. For others, it’s pretty stressful.  

In the moment, you might feel a little embarrassed if your kid isn’t enjoying their time at the salon. Don’t sweat it! We totally understand and want to help. 

If it calms your child down to watch a show on your tablet or phone, that might be a good compromise to help them get through their haircut without melting down. Just talk to your stylist first to make sure everybody is on the same page. 

When Should Kids Get Their First Haircut? 

The correct answer is vague: it depends.  

If your kid’s hair stays out of their eyes and looks neat, you can wait until they’re around two! If they’re lucky enough to have a full head of hair from the start, they might need a little trim earlier. There’s no wrong answer, and you should take your own emotions as a parent into account. 

How Often Should I Cut My Kid’s Hair? 

Again, it really depends on your kid! Does their hair grow quickly? Do they like having it long, or does it bother them when it grows out? Is it tricky to maintain?  

The biggest reasons to get a haircut, even for children, are style and damage. Kids get split ends too! Damaged hair and split ends can make it more difficult to brush through, so regular trims can help tame unruly locks without necessarily sacrificing length. You can usually expect to get a bang trim for kids every 4-8 weeks, though — just watch out for when their bangs start to get in their eyes and give us a call! 

How to Find Kids’ Haircuts Near Me 

There are a couple of choices for the best children’s haircuts in Omaha. You can choose salons that cater to kids or a salon that offers services for parents and children. 

Check the salon’s pricing list to see if they have children’s cuts listed. If they do, you know they’re able to accommodate younger clients — if not, you might want to keep looking to make sure everyone involved feels their best.  

You want your kid to feel the same way you do after a great appointment at the salon — confident, happy and excited about their new look. Guiding them through the experience is a journey every parent and guardian goes through, whether they want a classic or trending style.  

Our team of expert stylists will help you and your child with a haircut and salon experience that makes everyone feel best. Let’s figure it out — make an appointment at Stephanie Moss Salon and discover what we can do! 

What Color Should I Dye My Hair? 7 Tips for the Perfect Shade

By | Trends

Sometimes you just need a change.  

That’s not the only reason to mix it up with a fresh new color — maybe you’ve always wanted to know if you could pull off red hair, or maybe you just want to make sure that you’ve got the best blonde possible for your unique coloring (and personality). 

Whatever it is, we’ve got you.  

Here are seven ways to help you answer the question, “What color should I dye my hair?”  

  1. Decide on maintenance.
  2. Figure out your skin’s undertone.
  3. Consider your eye color.
  4. Look at your wardrobe.
  5. Factor in greys.
  6. Let celebrities do it first.
  7. Think about what you love about others. 

Decide on Maintenance

Before choosing which color to dye your hair, there’s a practical piece to address first.  

How much time do you want to dedicate to a new look? 

If you have dark black hair, lightening it to platinum blonde will be a significantly heavier commitment than going espresso brown at the beginning of the process and for maintenance. The more contrast there is between your natural hair color and your new choice, the more work it will be to keep it up.  

How much does it bother you when your roots start showing? Are you willing to buy specialty products like purple shampoo for blondes? Is your hair healthy now, and can you keep it protected from the sun or chlorine? 

Whatever the answer to these questions, you need to know what to expect. 

What color should I dye my hair if I need something low-maintenance? 

If you’ve never dyed your hair before, maybe start with a balayage or highlights that allow for a longer period between appointments. See how that complements your look and then jump in! 

With that settled, let’s get to the more technical tips. 

Figure out your skin’s undertone

As a general rule, warmer skin tones glow with hair colors that emphasize ‘warm’ browns, golds and reds. Cooler skin tones sparkle with icier, ashier shades. 

For some people, figuring out your undertone is easy. For others, it gets a little more complicated. Here’s how to start. 

The three most common undertones are cool, warm and neutral. You may have seen different makeup foundations labeled this way.  

  • Cool undertones — More pink and blue. 
  • Warm undertones — More yellow. 
  • Neutral undertones — A mix, which often ends up more peachy.  

Any skin tone can have any undertone — people at both the lightest and darkest ends of the spectrum might be classified as cool, warm or neutral. 

The quickest way to determine which category you fall into is to look at your wrist’s veins. Green veins usually point to warmer undertones and blue or purple veins suggest you may be cooler. If you’ve got both, you might be neutral.  

If you’re still unsure, that’s okay! Step two is to consider the jewelry and neutral clothing options you gravitate toward.  

  • Cool undertones — Silver jewelry and true white shirts. 
  • Warm undertones — Gold jewelry and off-white shirts.  
  • Neutral undertones — A mix of everything! 

If you can lock into your skin’s undertone, selecting which color to dye your hair can be a breeze. But that’s not the only way to figure out your best option. 

Consider your eye color

There are about a million eye colors in the world, and they’re all gorgeous regardless of your dye job. But certain shades may enhance your natural beauty — that’s color theory!  

The first thing to check is whether or not you have little flecks of gold or yellow in your irises. If so, chat with your stylist about integrating some honey, caramel or golden blonde into your look. Rich reds and chocolate browns will also intensify your gaze. 

Do your eyes have more gray in them? Boost this elegant hue with ashy blonde or a muted brown. Black hair can also amplify gray eyes. 

Many of us love our eyes — it makes sense to choose a hair color that will really make them pop.  

Look at your wardrobe

Color season analysis is trending, and that kind of thoughtful look into which colors look best on you can be useful when you’re thinking about changing your hair.  

Without getting too detailed, think about the palette you see when you open your closet. Do you choose brighter or softer colors? Do you like to keep things light and airy, or darker and more structured? 

Ask the same questions about your hair. If you love spring pastels, maybe you should go lighter. Is your wardrobe full of reds and oranges? Then make sure your favorite outfits won’t clash with copper locks. And if you’re constantly lint-rolling your black sweaters, it might be time to darken your ‘do. 

Factor in grays

Gray hair is natural. Lots of people make it look incredible — it was even a trend not too long ago for people without a silver strand in sight!  

Whether you embrace your grays or want to cover them up, you should consider them when you’re deciding on the best hair color for you. 

If you want to cover up your gray hair, highlights are a great place to start. The non-uniform nature of gray hairs means that they stick out and draw the eye. Highlights can mimic that across all your hair, giving you some wiggle room when they start to grow back in.  

For people who don’t want to cover their silver hair up completely, talk to your stylist about lighter locks. A toned champagne blonde, for example, is a stunning way to enhance your natural color.  

Let celebrities do it first

Celebrities have full teams of personal stylists, a higher-than-average need to look incredible, and access to resources lots of everyday people just don’t.  

That means you can see what it looks like when they take the plunge before even getting your toes wet. 

Some stars have made hair transformations into an art. Have you ever been told you have a celebrity lookalike? Singers and actors with similar coloring to you are a great place to start your hair journey.  

There are plenty of people who have tried just about every shade under the sun — check out some of the different looks from these icons and see if they strike a chord with you. 

Think about what you love on others

We’ve all seen someone and thought, “That’s such a great look, but I could never pull it off.”  

Sometimes that might even be true — confidence is a big part of the equation. But if you find yourself consistently complimenting a certain color on others, you might be surprised by what’s possible.  

Bring us your concerns. If you’re nostalgic over neon pink hair and adamant that you can’t have something that wild, maybe you’d like a cherry cola brown. If you’ve got raven black tresses in your dreams but you’re a natural blonde when you wake up, maybe lowlights or a shadow root could get you closer to your ideal. 

So … what color should I dye my hair?  

If you’ve gotten this far, be honest about your ability to maintain this color, factored in your natural coloring, peered into your own eyes, checked out your clothes, researched celebrities and imagined your favorite colors on strangers, you probably have a good idea what your best hair color is.  

Ask yourself if you aren’t sure what the right color is for you, or if you just aren’t confident that you have the right answer. In the end, it’s your hair! When you love your look, your confidence lights up a room more than color theory ever could. 

Our expert stylists will help you discover the color, cut and style that makes you feel best. Let’s figure it out — make an appointment at Stephanie Moss Salon to get started. 

Xenon Academy: New Year, New Owner

By | Salon Updates

It’s a brand-new year, and with it comes a brand-new owner for Xenon Academy, Stephanie Moss! 

Xenon Academy has long been a staple of the beauty industry in Nebraska, known for our top-notch education and training programs for aspiring makeup artists, hairdressers and aestheticians. With a strong focus on hands-on learning and a commitment to staying up to date with all the latest beauty trends and techniques, we’ve helped launch the careers of many successful professionals. 

Having owned her own salon since 2008, Stephanie Moss is no stranger to the beauty industry, setting the standard for a successful career as both a beautician and an entrepreneur. With a passion for empowering others to achieve their goals and a dedication to excellence, Stephanie is well-equipped to take the reins at Xenon and continue our legacy of delivering high-quality education to our many aspiring students. 

“I am thrilled to be able to continue Xenon Academy’s long history of teaching the best up-and-comers in the beauty industry. This place has serviced the professional beauty industry for over three decades, and I am so excited to continue its legacy as one of the best beauty academies in the Nation.” – Stephanie Moss

Under Stephanie’s leadership, we can expect to see even more innovative programming and opportunities for growth. Her experience as a national educator for L’Oréal Professionnel Academy lends itself well to her mission here at Xenon. With her vision and expertise guiding the way, there’s no doubt that the academy will continue to thrive and cement itself as the go-to destination for aspiring beauty professionals. 

Pursuing a career in the beauty industry?

The new year, and our new owners, make it a perfect time to enroll in Xenon Academy. Whether you’re looking to start a new career, or enhance your existing skills, we pride ourselves on being your perfect fit. Here are just a few things you can expect from our quality programs: 

  1. Highest quality education: We’re known for our excellent programs, which are taught by experienced professionals both in the field and in the classroom. You can be confident in the training you receive when you enroll.
  2. Flexibility: Something we are proud about here at Xenon Academy is the variety of programs we offer! With courses covering cosmetologyesthetics, and barbering, you’ll have many choices in beginning your career in beauty.
  3. Hands-on Training: In addition to our classroom education, we also provide hands-on training via our student salon. This practical, real-world experience is essential in preparing you for a career in this industry, giving you the tools you need to succeed. 

With our high-quality education, flexibility and hands-on training, we’re a great choice for any looking to succeed in this growing field. Take a look below for information about financial aid and how to begin your journey with us.