Microblading — semi-permanent makeup that essentially tattoos on your desired brows — has become one of the most popular ways to achieve natural, fuller eyebrows without the daily hassle of filling them in. The whole tattooing part throws some people for a loop, though: what does that mean they’ll look like immediately afterward? Will they heal quickly? What does microblading maintenance look like? Does it hurt?
No matter if you’re brand new to the world of semi-permanent makeup or just preparing for your microblading appointment, you should definitely understand the microblading healing process. After all, getting those perfect brows means you’ll want them to heal correctly.
In this blog, we’ll take you through the microblading healing stages, share tips for effective microblading aftercare and give you advice on how to ensure that your brows heal beautifully and evenly. Ready?
What Is Microblading?
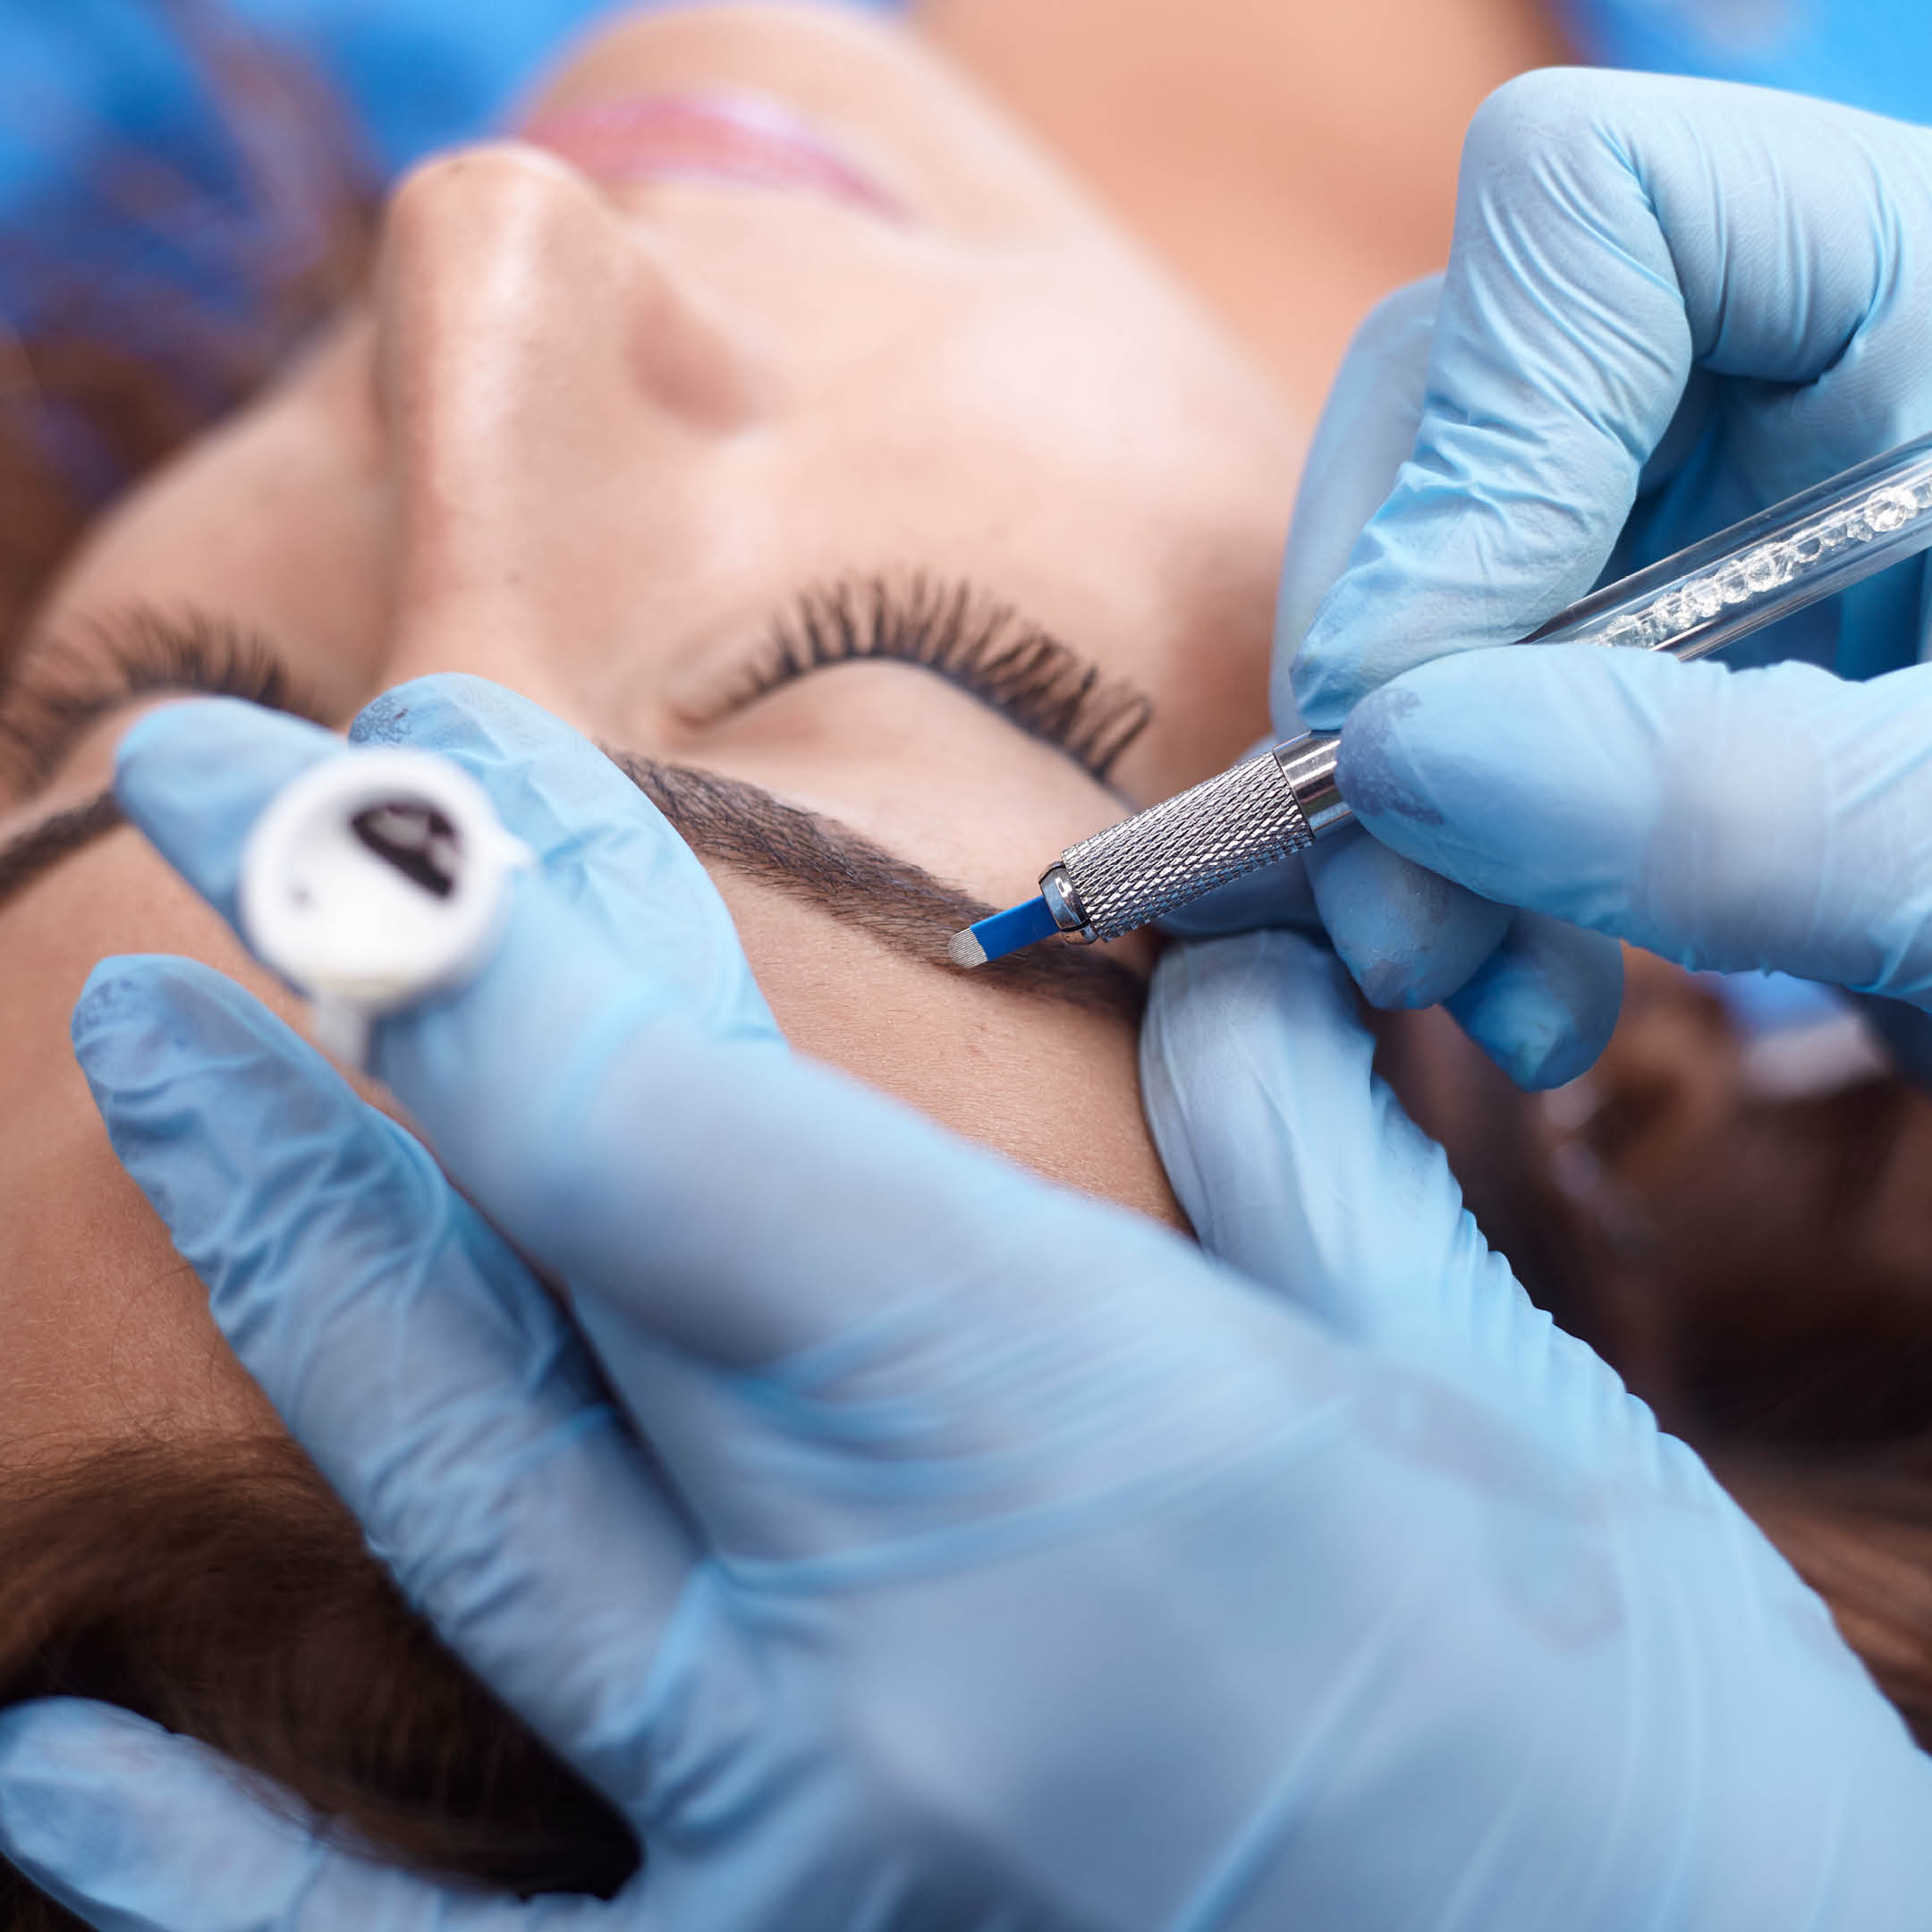
Microblading is a semi-permanent tattooing technique that creates the appearance of fuller, more defined brows by using hair-like strokes. Using a fine blade, pigment is deposited into the upper layers of the skin, which allows for a more natural, defined look compared to traditional eyebrow tattoos — no Sharpie brows here.
Many people choose microblading to achieve brows that are fuller, more symmetrical and perfectly shaped to suit their face. (Anyone who groomed their eyebrows with a little too much zeal might be interested in microblading overplucked eyebrows, as an example.)
To get the best results, it’s important to know what to expect during and immediately after the microblading healing process and how to care for your brows.
The Microblading Healing Timeline
The microblading healing process typically takes about 6 weeks, with different stages of healing that require varying levels of care. Here’s what most people can expect during each stage:
1–2 Days: Initial Healing
Right after your microblading procedure, you’ll likely notice some redness and tenderness around the brows. This is normal since the skin is recovering. Swelling may occur, but it should subside within a few hours.
Aftercare Tips:
- Avoid touching or scratching the area.
- Don’t get your eyebrows wet for the first 24 hours.
- Keep your brows clean with a gentle cleanser but avoid using makeup on them for the first 10–14 days.
- If you feel they’re too dark, don’t worry! Around 30% of the pigment is lost in the first couple of weeks, so they may start out darker than expected — this way, they’ll still look gorgeous once they fade.
3–7 Days: Early Healing
During the first week, your new brows may feel dry and begin to scab over. This is a natural part of the healing process. The pigment will initially appear darker than it will once your brows are fully healed, and you might experience some itching as the scabs start to form.
Aftercare Tips:
- Apply the aftercare ointment provided by your technician to keep the area moisturized.
- Avoid direct contact with water and excessive sweating.
- Don’t pick at the scabs — let them fall off naturally to avoid disturbing the healing process or losing uneven pigment.
2–4 Weeks: Mid Healing
By week 2, the scabs should start to fall off, revealing a lighter, patchy look. This can be alarming if you’re not expecting it, but rest assured, this is a normal part of the microblading healing stages. The pigment might appear uneven during this time, but that’s because the skin is still healing, and the color is settling into the skin. By the end of the timeline, the light patches will darken again to match.
Aftercare Tips:
- Continue applying a thin layer of aftercare ointment.
- Avoid sun exposure and tanning beds to prevent fading.
- Don’t apply makeup or lotion directly on your brows, but you can go back to your regular skincare routine.
4–6 Weeks: Late Healing
By the end of the healing period (around 6 weeks), your brows will begin to settle into their final shape and color. The pigment will appear softer, and the hair strokes look more natural. However, this doesn’t mean that your healing process is entirely over — you may want a touch-up appointment after this stage to perfect the shape and fill in any sparse areas, especially if you accidentally bumped them in the earlier healing stages.
Aftercare Tips:
- Use sunscreen (at least SPF 30, up to SPF 50!) when going outdoors to protect your brows from UV rays, which can cause fading.
- It’s very common to come in for a final touch-up appointment at this point — don’t hesitate to let us know you’d like to come in!
Common Issues During the Microblading Healing Process
While the microblading healing process is typically straightforward, there are a few common issues that come up, even if you’re doing everything completely perfectly.
Itching and Dryness
As your brows heal, you may experience itching or dryness. This is extremely common; it’s just like when a scab starts itching anywhere else on your body. But it’s incredibly important not to scratch or pick at the area, as this can cause scarring or affect the pigment.
Solution: Apply a thin layer of aftercare ointment to soothe itching and keep the area hydrated. And try to be patient — this part doesn’t last forever!
Infection
If your brows become unusually red, swollen, hot or start to ooze, this could be a sign of infection. If you notice any signs of infection, contact your technician or a healthcare professional immediately.
Solution: Keep your brows clean, avoid touching them with dirty hands and follow aftercare instructions carefully to reduce the risk of infection.
Uneven Healing
Sometimes, one eyebrow may heal faster or more evenly than the other. This can be frustrating, but the microblading healing process can vary for each individual brow.
Solution: If you’re concerned, your technician may recommend a touch-up appointment to even them out.
Microblading Aftercare Tips
Proper microblading aftercare is how to make sure your brows heal beautifully. Follow these tips for the best results:
- Clean your brows gently after the first 24 hours. Use a mild, non-irritating cleanser and avoid using harsh chemicals or makeup removers.
- Moisturize. Apply a thin layer of the aftercare ointment your technician provides to prevent dryness and flakiness.
- Avoid sun exposure. UV rays can cause fading and uneven healing, so always protect your brows with sunscreen or by wearing a hat when outdoors. (Proper sun protection is important after your brows are healed, too!)
- Don’t pick or scratch. Let the scabs fall off naturally. Picking can lead to scarring or patchy areas.
- Avoid makeup on your brows. Makeup can introduce bacteria and interfere with the healing process. Stick to using the aftercare products provided by your technician.
- Drink plenty of water and avoid excessive alcohol usage, which slows down healing.
- Avoid facials, lasers and chemical peels/treatments until your brows fully heal.
What Affects the Microblading Healing Process?
The microblading healing process can be influenced by several factors, including:
- Skin type. Oily skin may experience faster pigment fading, while dry skin may take a little longer to heal.
- Aftercare. The more diligently you follow your aftercare instructions, the better your results will be.
- Lifestyle factors. Smoking, drinking or excessive sweating from high-intensity exercise can slow healing or cause early fading.
When to See a Professional
If you’re not sure whether your brows are healing correctly, don’t hesitate to reach out to your microblading technician. It’s important to get a touch-up appointment after 6–8 weeks to ensure your brows are as full and even as possible.
Signs You Need a Professional Check-Up:
- Excessive redness, swelling, or discomfort
- Uneven healing or fading in certain areas
The microblading healing process can feel long, but it might be the most important part of achieving beautiful, long-lasting eyebrows. Recognizing the different microblading healing stages and following proper aftercare instructions can make all the difference in how quickly your brows heal.
Be patient, stay consistent with your aftercare and don’t hesitate to reach out!
Want flawless brows? Book your microblading appointment with Stephanie Moss Salon today, and we’ll guide you through every step, from the consultation to the healing process and beyond!

